SonarQube is a perfect tool to analyze your code. And, community version is free and open-source. You can install SonarQube to your server or your computer. In this article, I will share how I installed SonarQube to my mac M1 with Docker.
The first thing you need to do is create a container with a SonarQube image. The below line will pull the image and start SonarQube in port 8084.
docker run -d -p 8084:9000 mwizner/sonarqube:8.7.1-communityAfter container creation ended, you can access the SonarQubeUI with 127.0.0.1:8084 address. The default username and password is “admin”.
The next step is clicking the “Add Project” button.

Fill in the required fields.
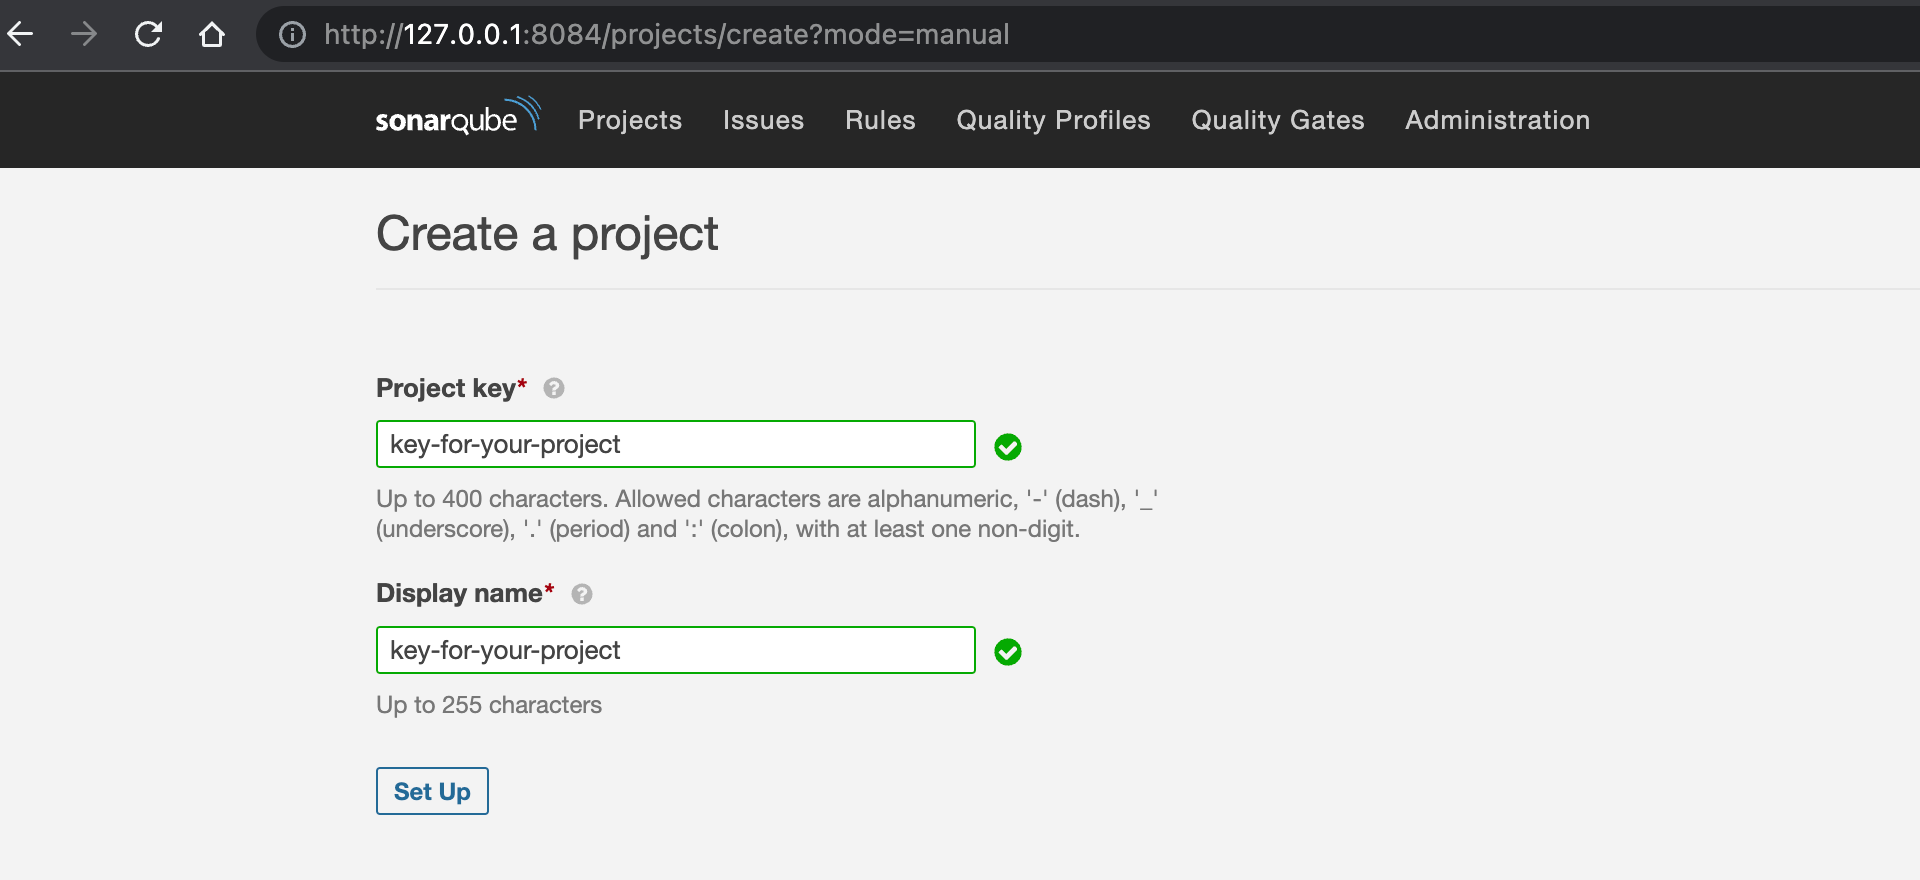
And click the “Set Up” button. Now, you should enter a name for the token.
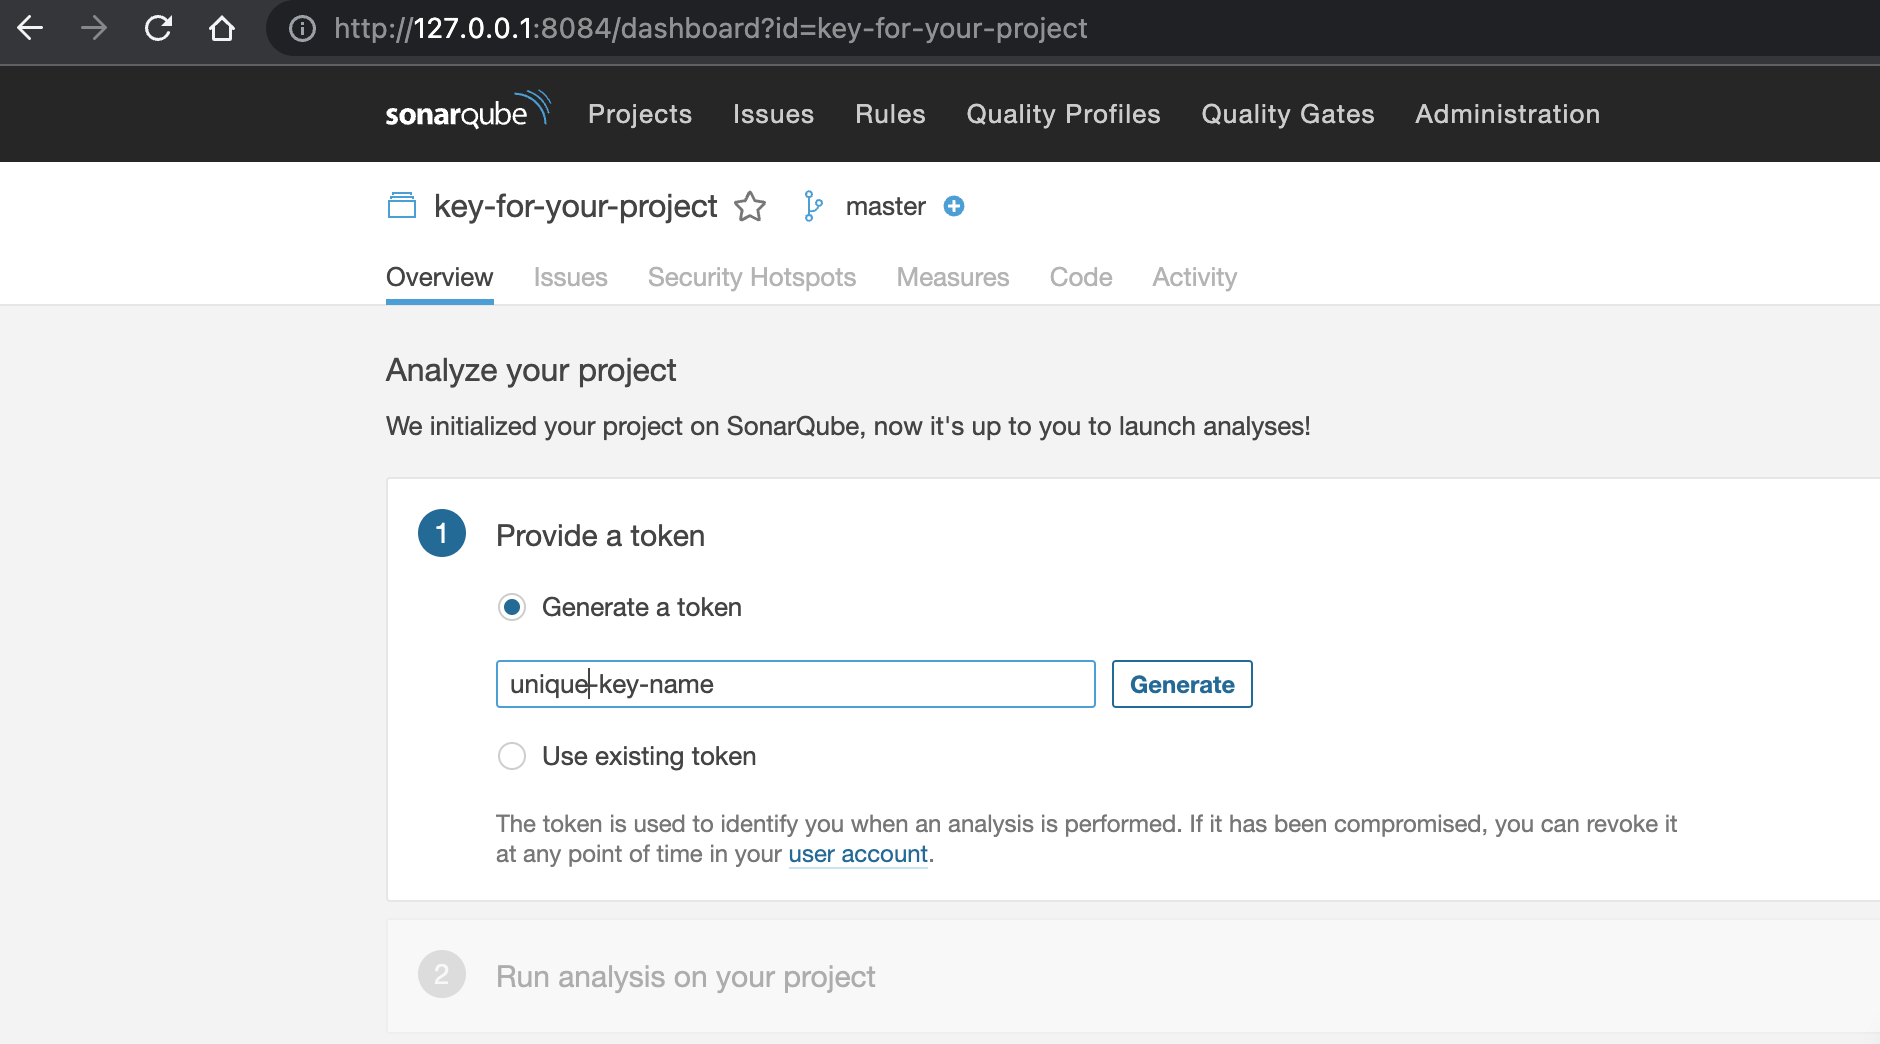
And, you will see the below page.
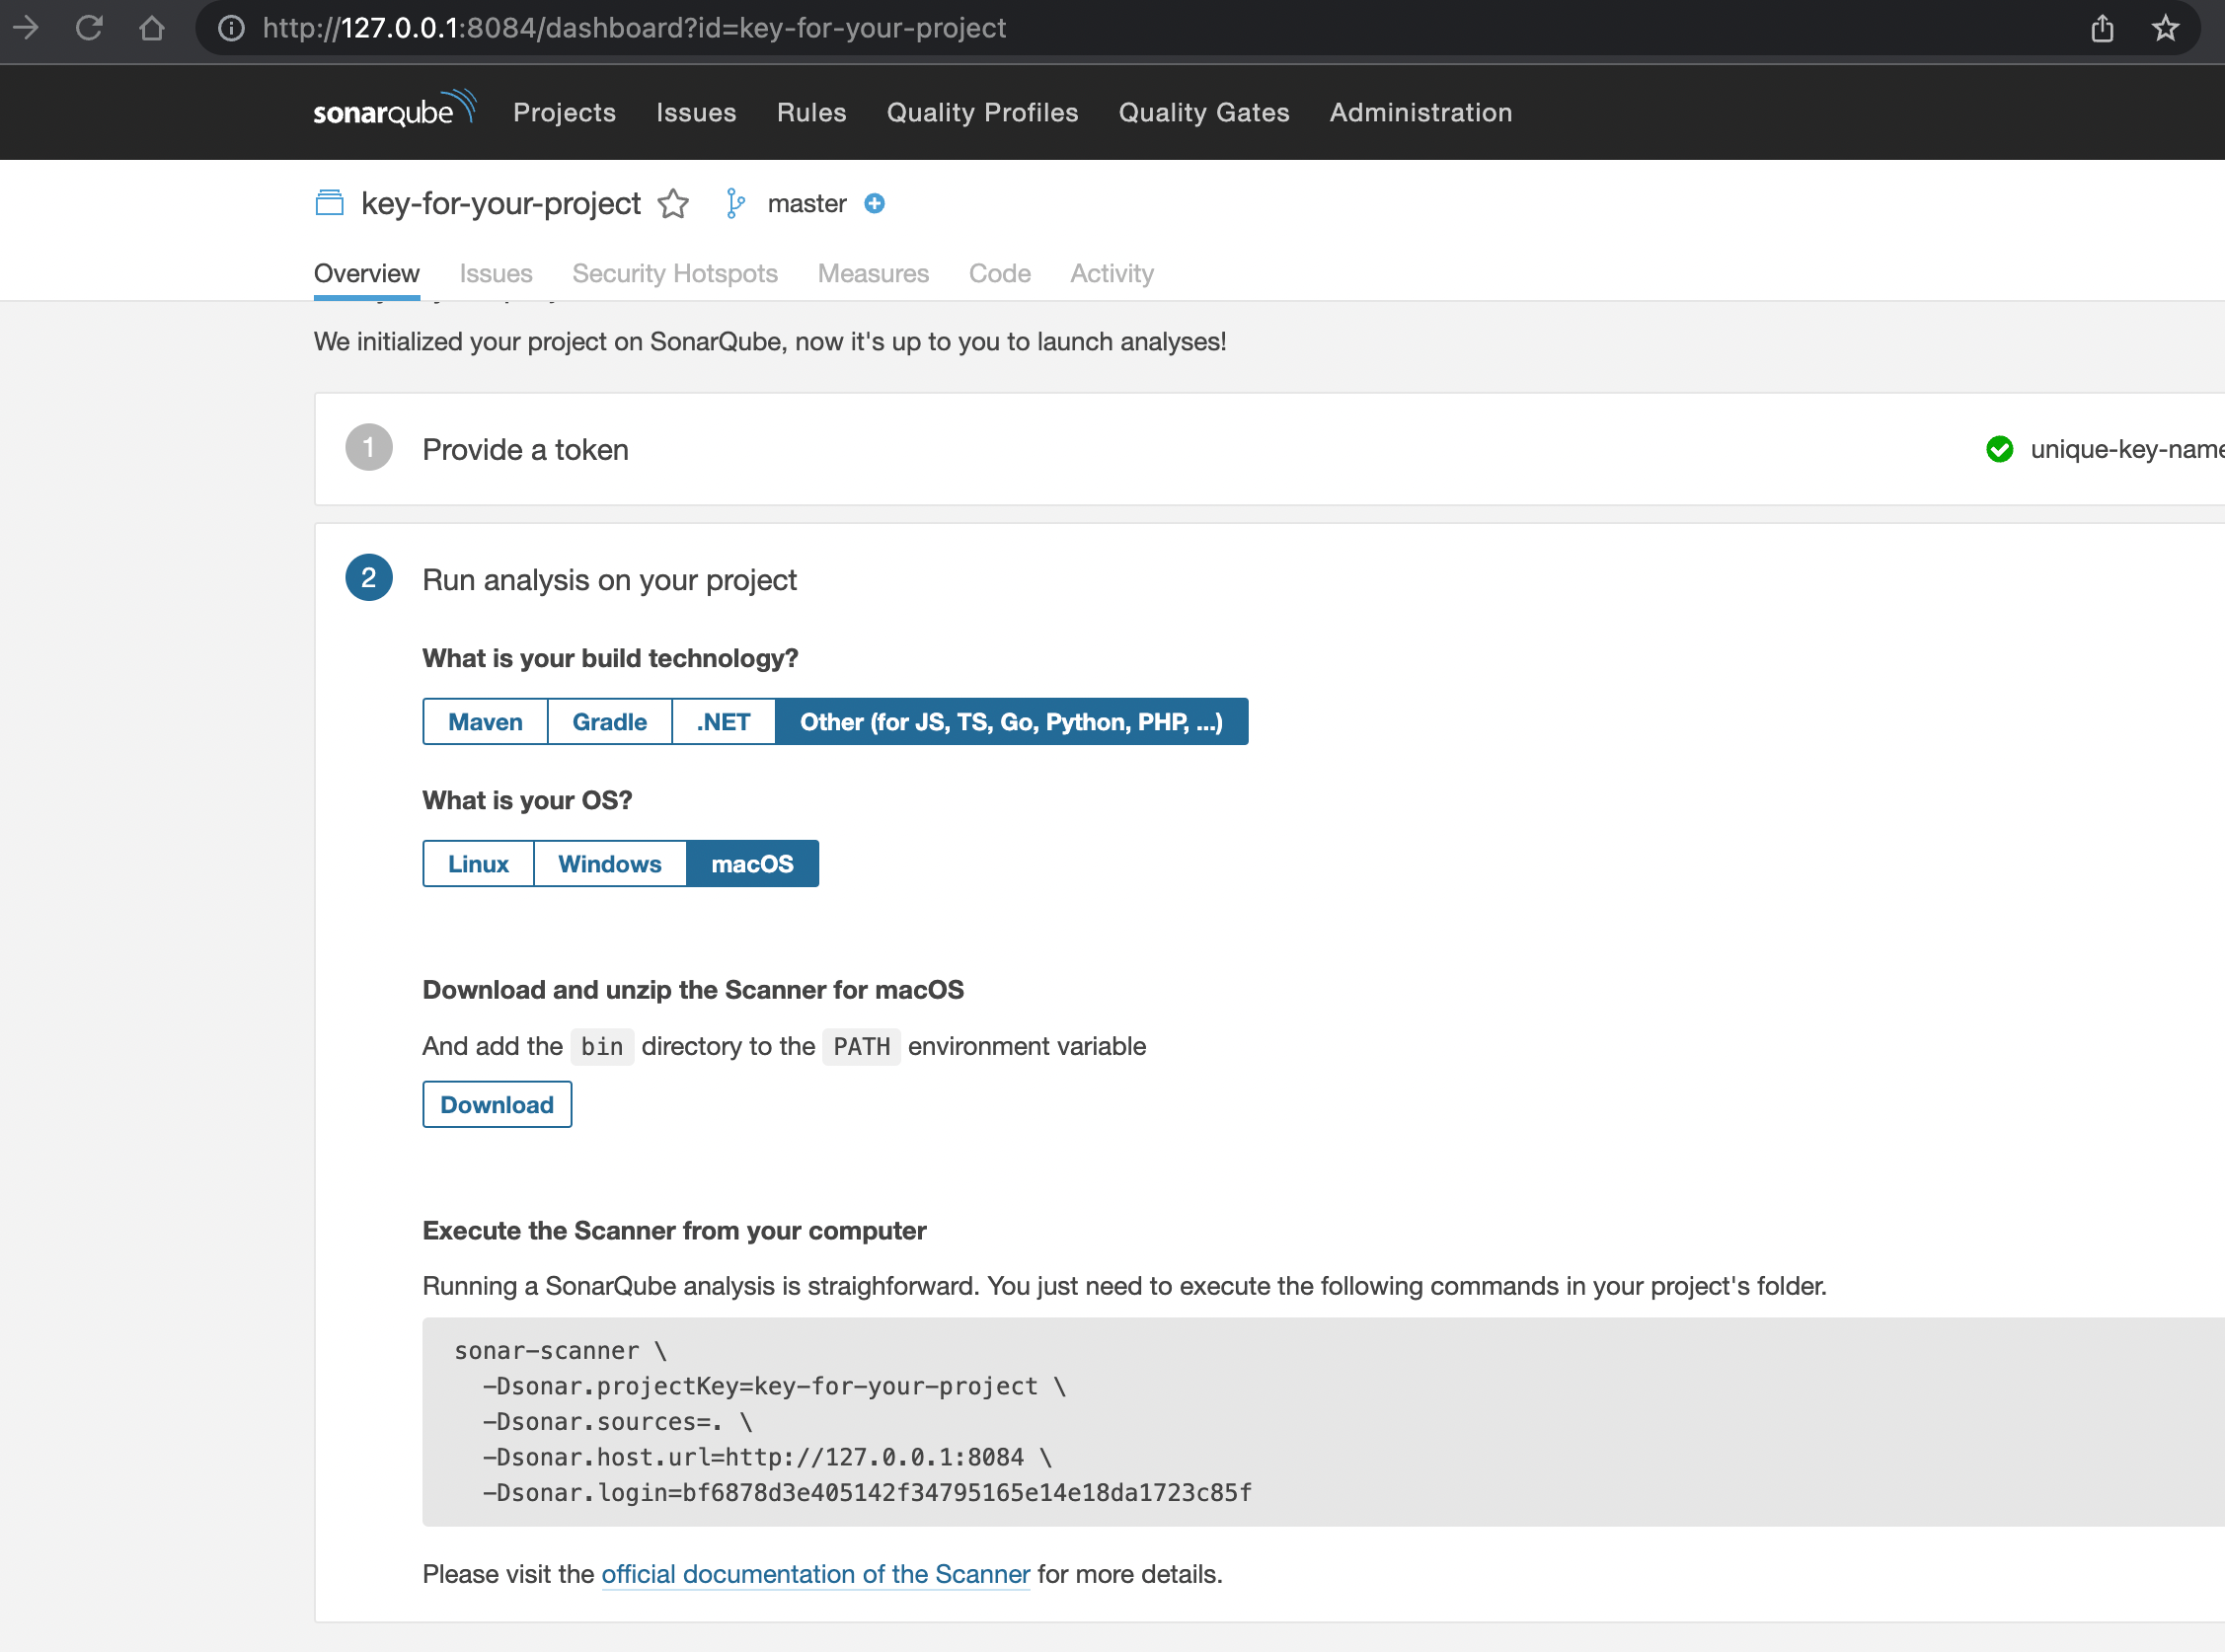
Now, our project is ready on the SonarQube server and you are seeing the command you need to run to analyze your code. It is time to use SonarQube CLI.
Enter => https://docs.sonarqube.org/latest/analysis/scan/sonarscanner/ link to download sonar scanner CLI.
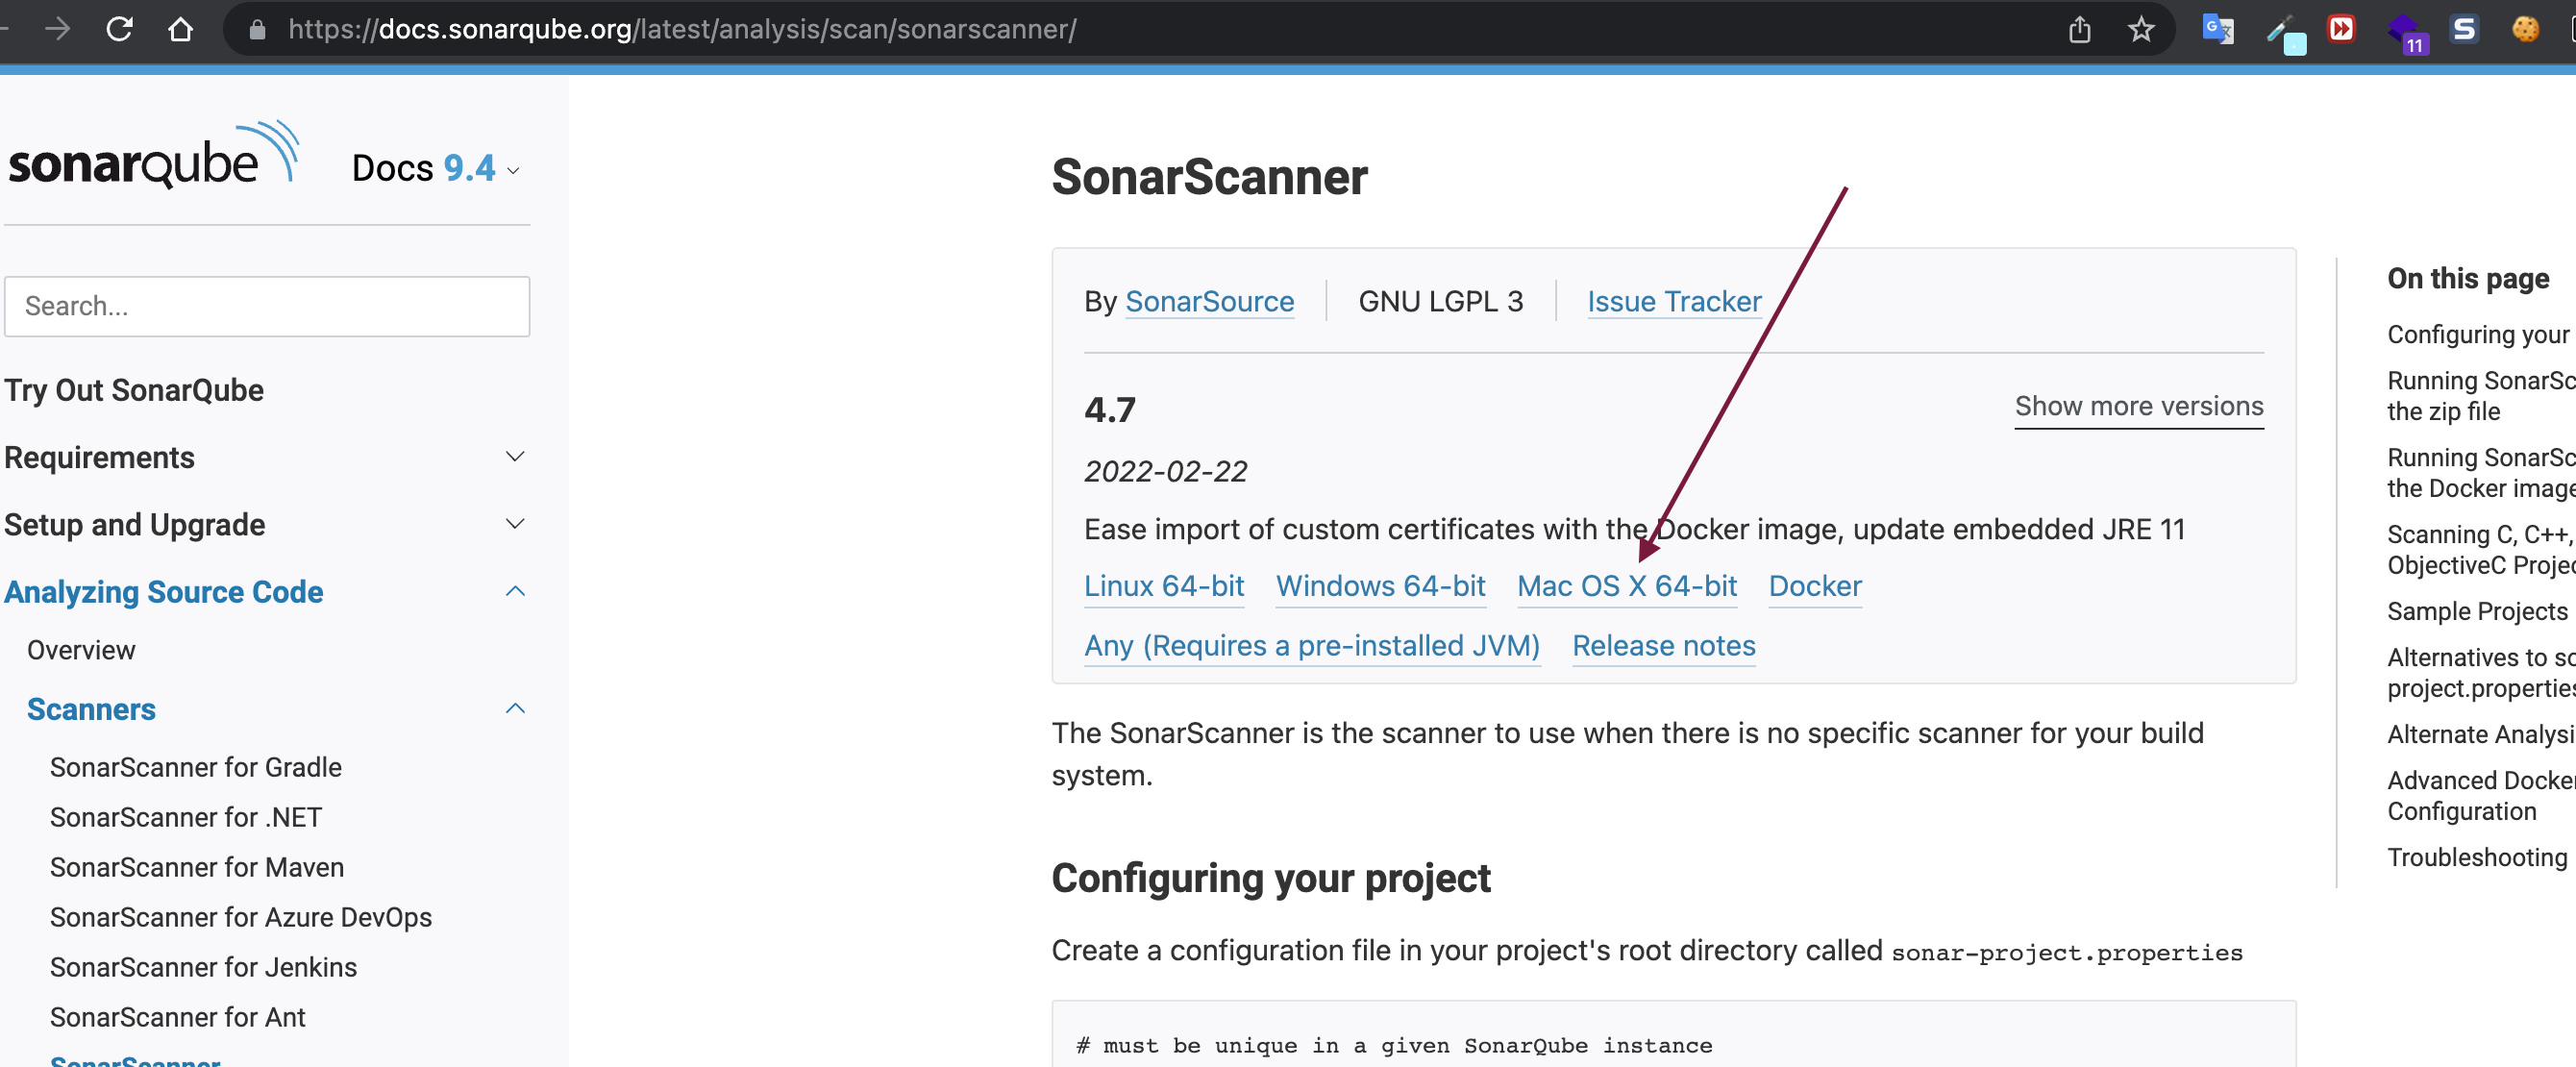
After you click the link in the above screenshot, the file will be downloaded automatically.
The last part is running the command to analyze the project. The command generated for my project is
sonar-scanner \
    -Dsonar.projectKey=key-for-your-project \
    -Dsonar.sources=. \
    -Dsonar.host.url=http://127.0.0.1:8084 \
    -Dsonar.login=bf6878d3e405142f34795165e14e18da1723c85f
Now, you should enter the project path via the terminal and run the above command.
But, you will see the below error, because we downloaded the sonar scanner CLI to a different path.

So, I just updated the command and used the path I downloaded the sonar scanner. Also, you can define an alias for your terminal. I added an alias to my ”~/.zshrc” file.
alias sonar-scanner=”~/sonar-scanner/bin/sonar-scanner”
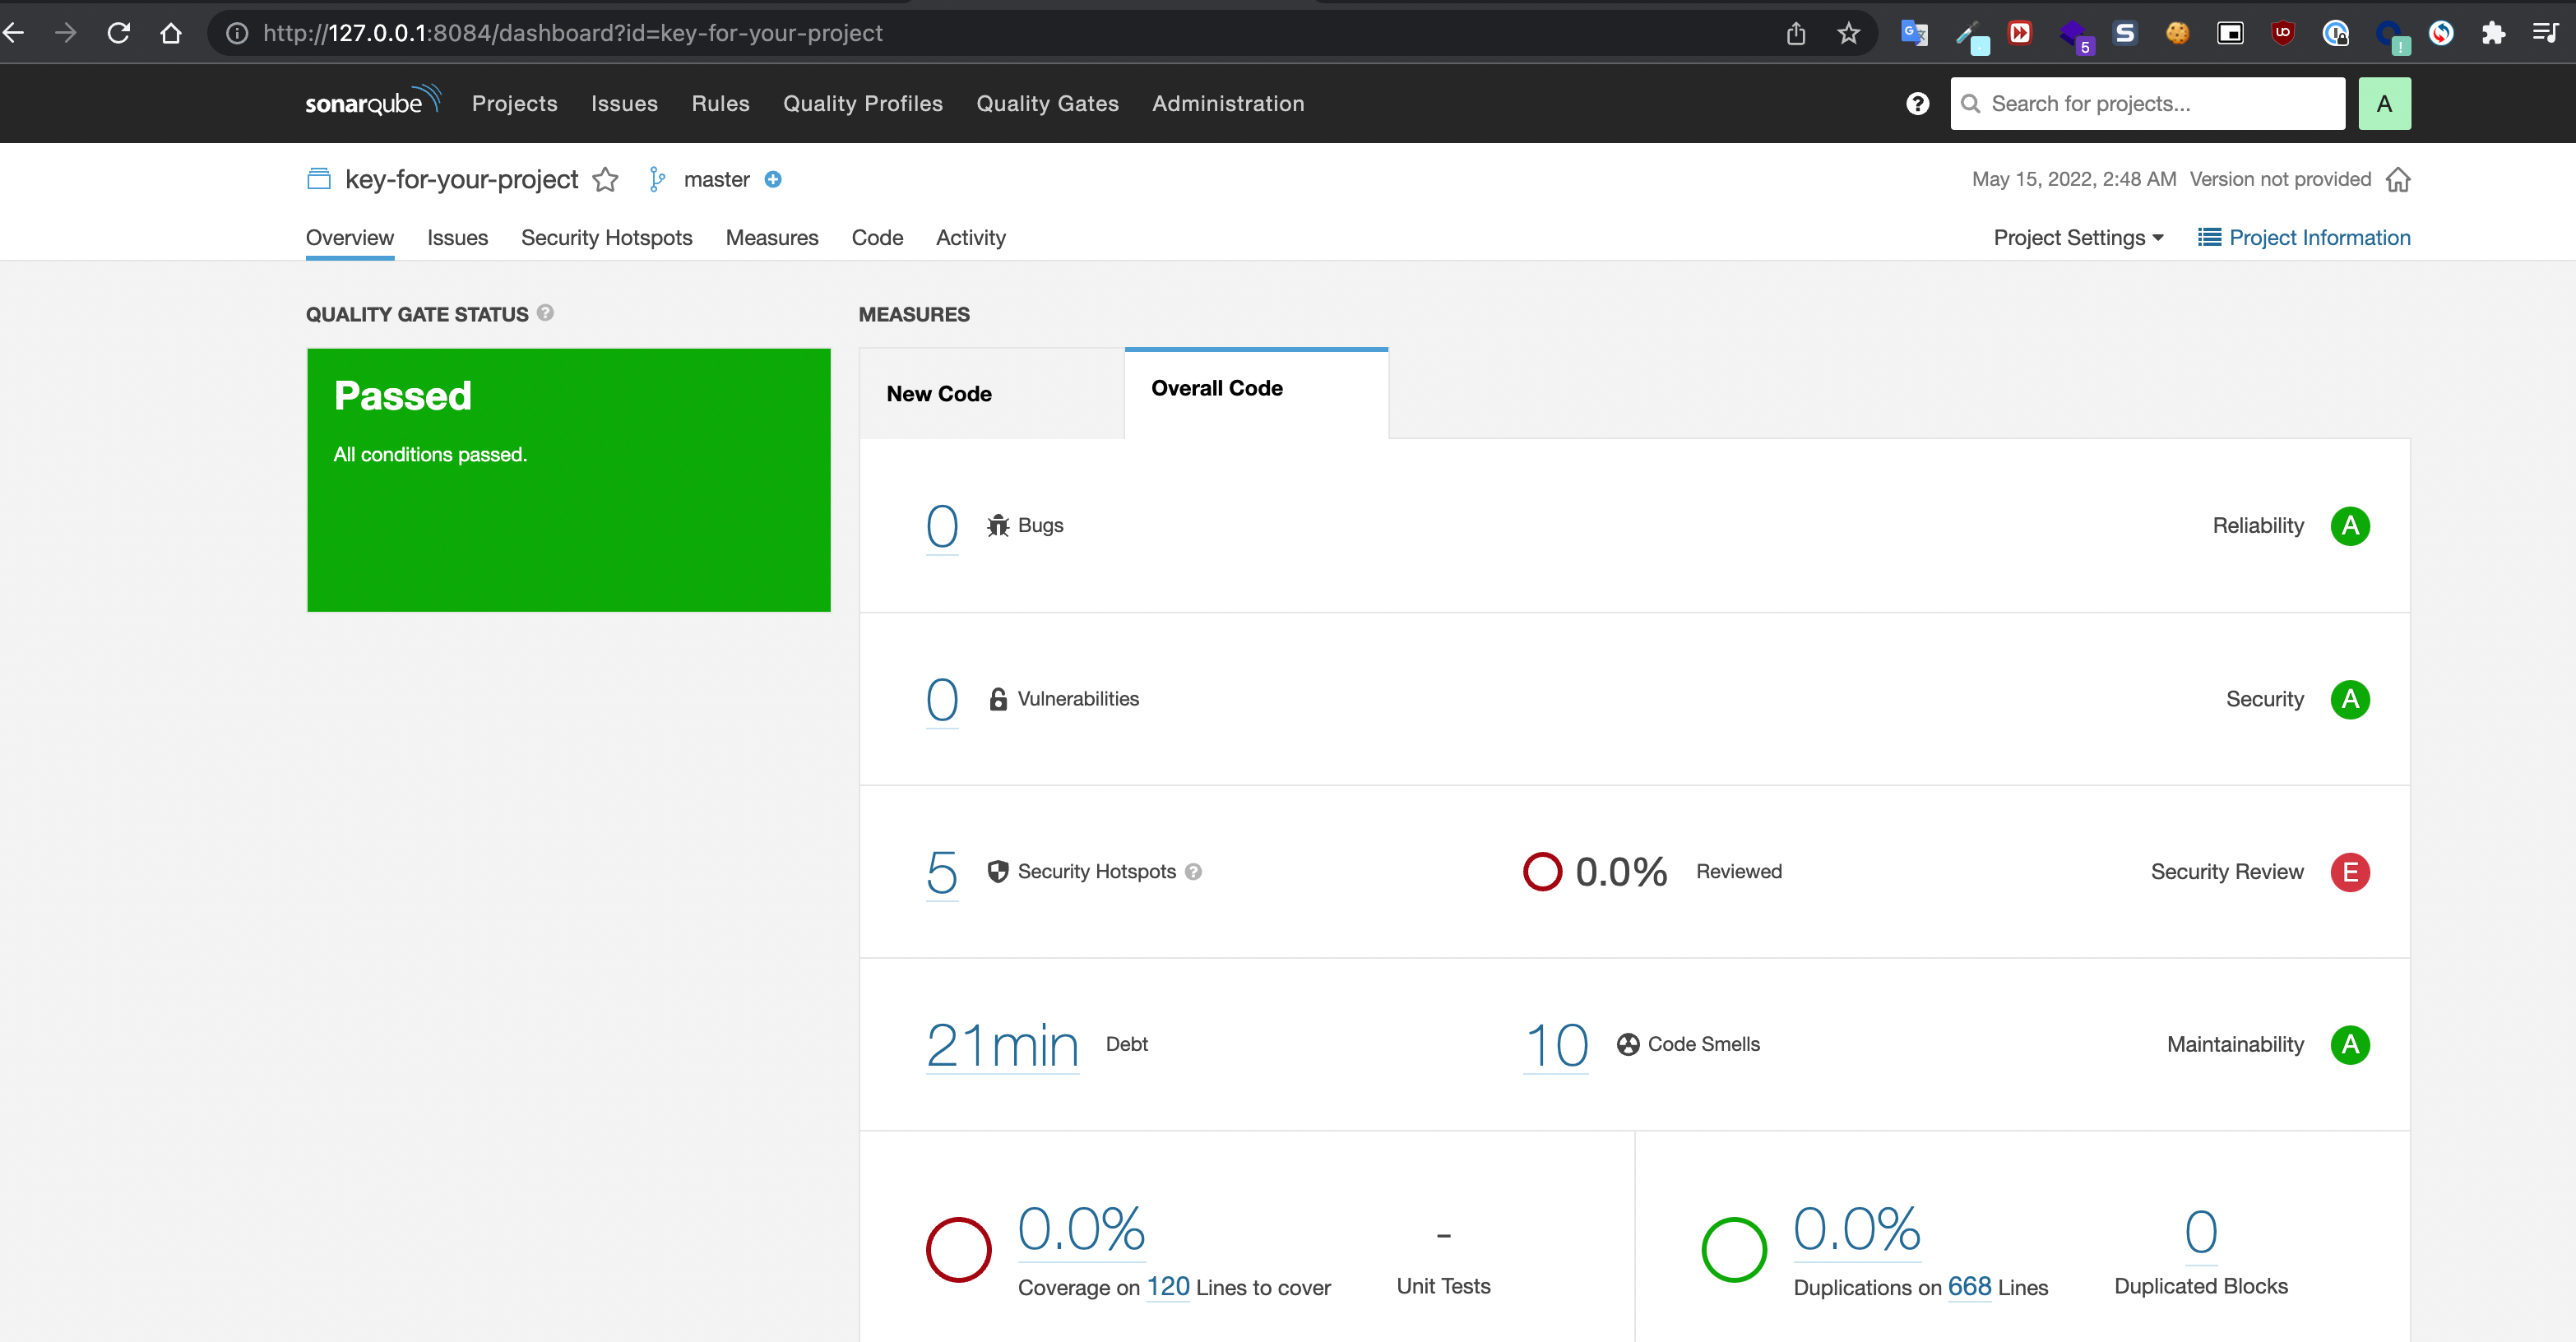
Now, you can go to the dashboard again and check the result of the analyses
In Conclusion,
It is really easy to install SonarQube and analyze your code. If you have any questions, please feel free to ask in the comments.